Create Book
Contents |
Overview
On DIKSHA, a Book is a collection of content units. Books can be compiled or curated from school textbooks or any book that conforms to syllabi of state or central boards. They can also be compiled or curated from books of any recognized institution or publication. Any book must be in the said medium of instruction and language. To create a book you must have a book creation rights assigned to you.
Prerequisites
| Step | Screen |
|---|---|
| Log in as a book creator
1. Click Workspace 2. Select Create 3. Click the Book tile | 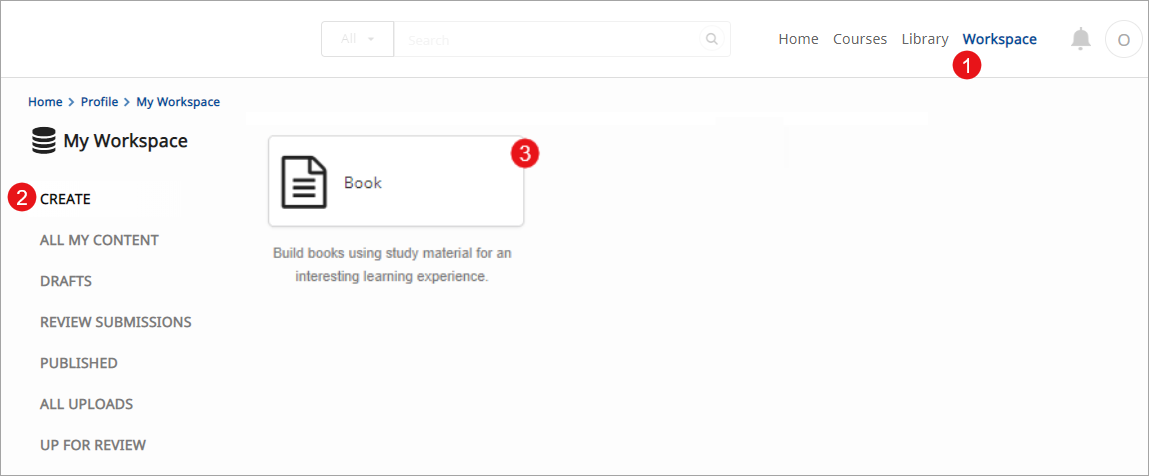
|
Creating Book
| Step | Screen |
|---|---|
| On Create Book screen 1. Enter a Name for the book 2. Select the following from their respective drop-down menus: a. Board b. Grade c. Subject d. Medium e. Year 3. Enter Publisher details 4. Click Start Creating Note: It is mandatory to fill in all these details. Ensure the name provided here is same as the name given in the .csv file | 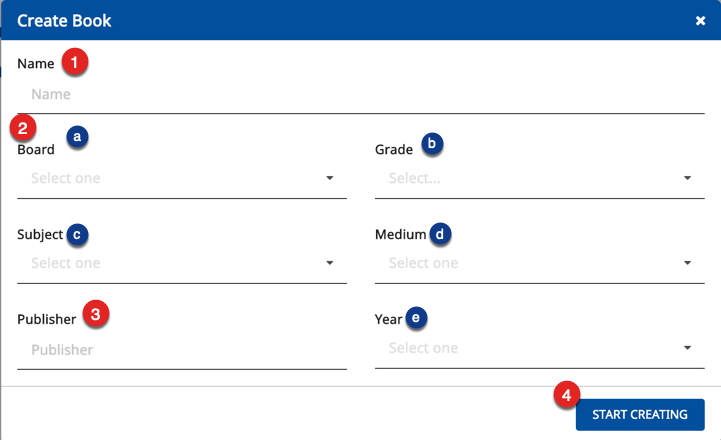
|
Adding or Editing Book Details
| Step | Screen |
|---|---|
| 1. Click Edit Details to enter the book details | 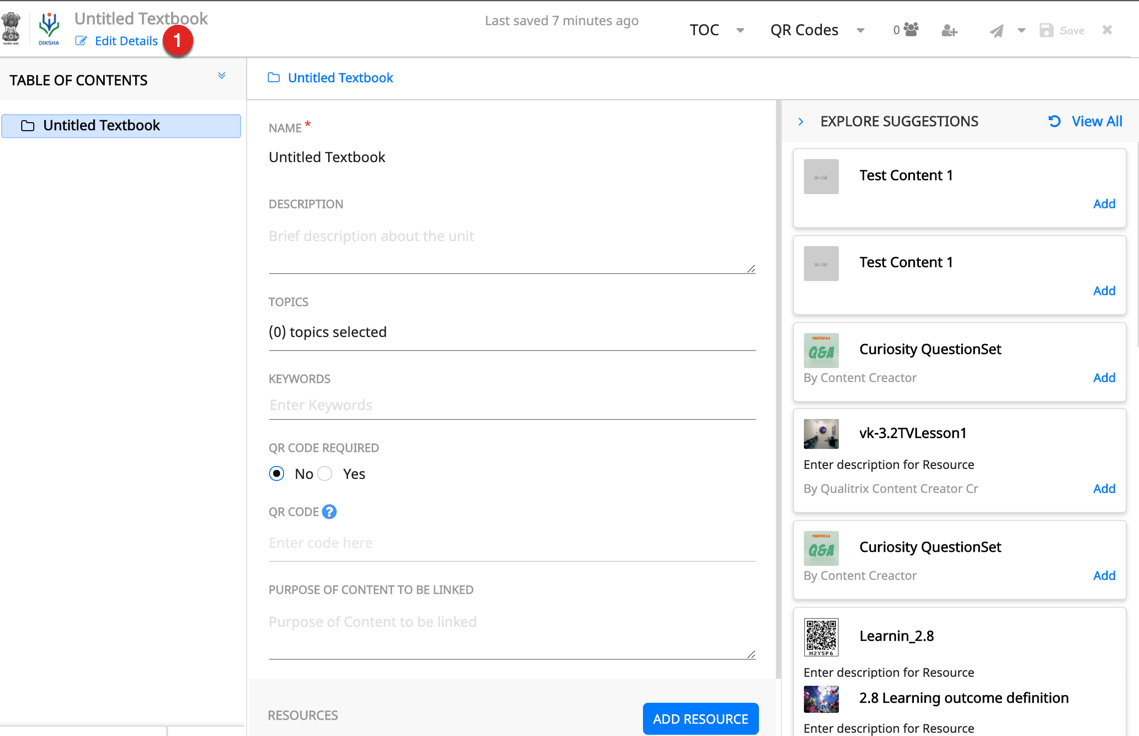
|
|
1. Click the camera icon to add an image Note: For details, refer Adding Image to Book Details 2. Enter Name of the book 3. Enter Description of the book 4. Enter Keywords. Keywords are ideas and topics that define content. Keywords aid in searching for content 5. The Collection Type is auto-filled based on the content type that is being created 6. Select the following from their respective drop-down lists: a. Additional Category b. Syllabus c. Medium d. Class e. Subject You can select multiple value for subject, board, and medium 7. Enter QR Code for the textbook 8. Select Topics Note: For details, refer Adding Topics 9. Select Year 10. Enter Publisher 11. Enter Audience 12. Enter Author 13. Enter details of people you want to acknowledge in the Attributions field 14. Enter Copyright details 15. Enter Year of Creation 16. Select the License for your content 17. Click Save on the header to save the details 18. Click Cancel to go back to the previous screen Note: Metadata refers to the data that provides information about other data. It includes elements such as board, medium keywords associated with the book, publisher details, creators of the book and so on. i. When metadata is updated while creating content, the displayed content suggestions on Adding Resource screen are also updated accordingly. ii. Only the following special characters are allowed in the metadata field : / - _ , . ( ) | 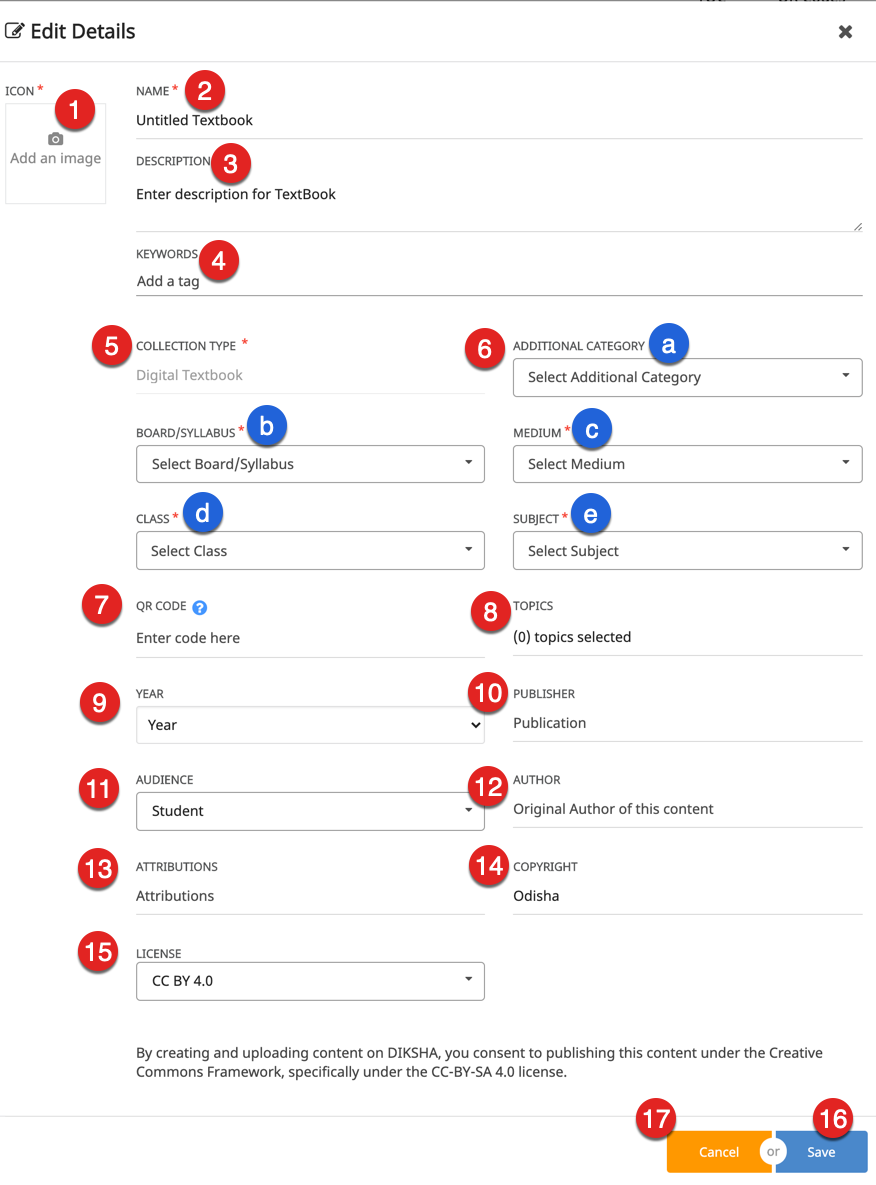
|
Adding Content to Book
You can add various elements in the book like units or chapters, heading details, QR codes, resources and courses.
| Step | Screen |
|---|---|
| 1. Click New Child, on the left navigation pane to add chapter or unit
2. A unit is added to the left pane and the corresponding heading details are displayed on the action pane. For details on child textbook unit, sibling textbook unit, refer Exploring ToC Structure 3. Click ADD RESOURCE to add content to the headings. For details on adding resources, refer Adding Resources | 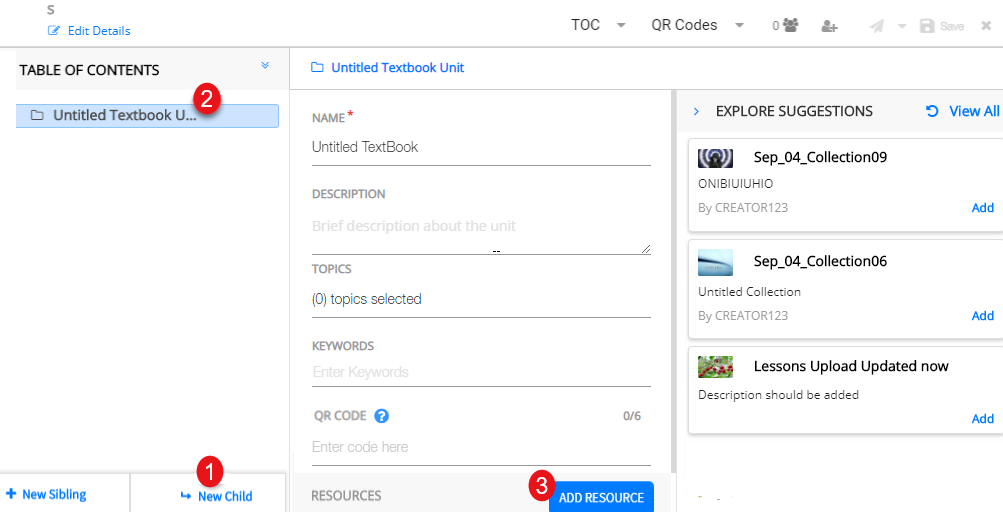
|
Adding Details to Book ToC or Book Metadata
| Step | Screen |
|---|---|
| To start adding heading details in a unit or chapter
1. Enter Name. This is the topic/chapter/unit name as in the physical textbook 2. Enter Description 3. Enter Topic Note: To know more refer Selecting Topics 4. Enter Keywords 3. Select QR Code Required if QR code is required for this topic Note: If this value is set to No and QR code value is provided during upload, the upload fails 6. Enter the QR code Note: QR code is used to link digital contents to the book. The QR codes are uniquely associated and mapped with the book or topics. For successful upload of the text book and its topics, enter correct QR code reserved for the topic. 7. Enter the Purpose of Content to be Linked Purpose of content describes the intent and overview of the content being linked 8. Click Save to save the details | 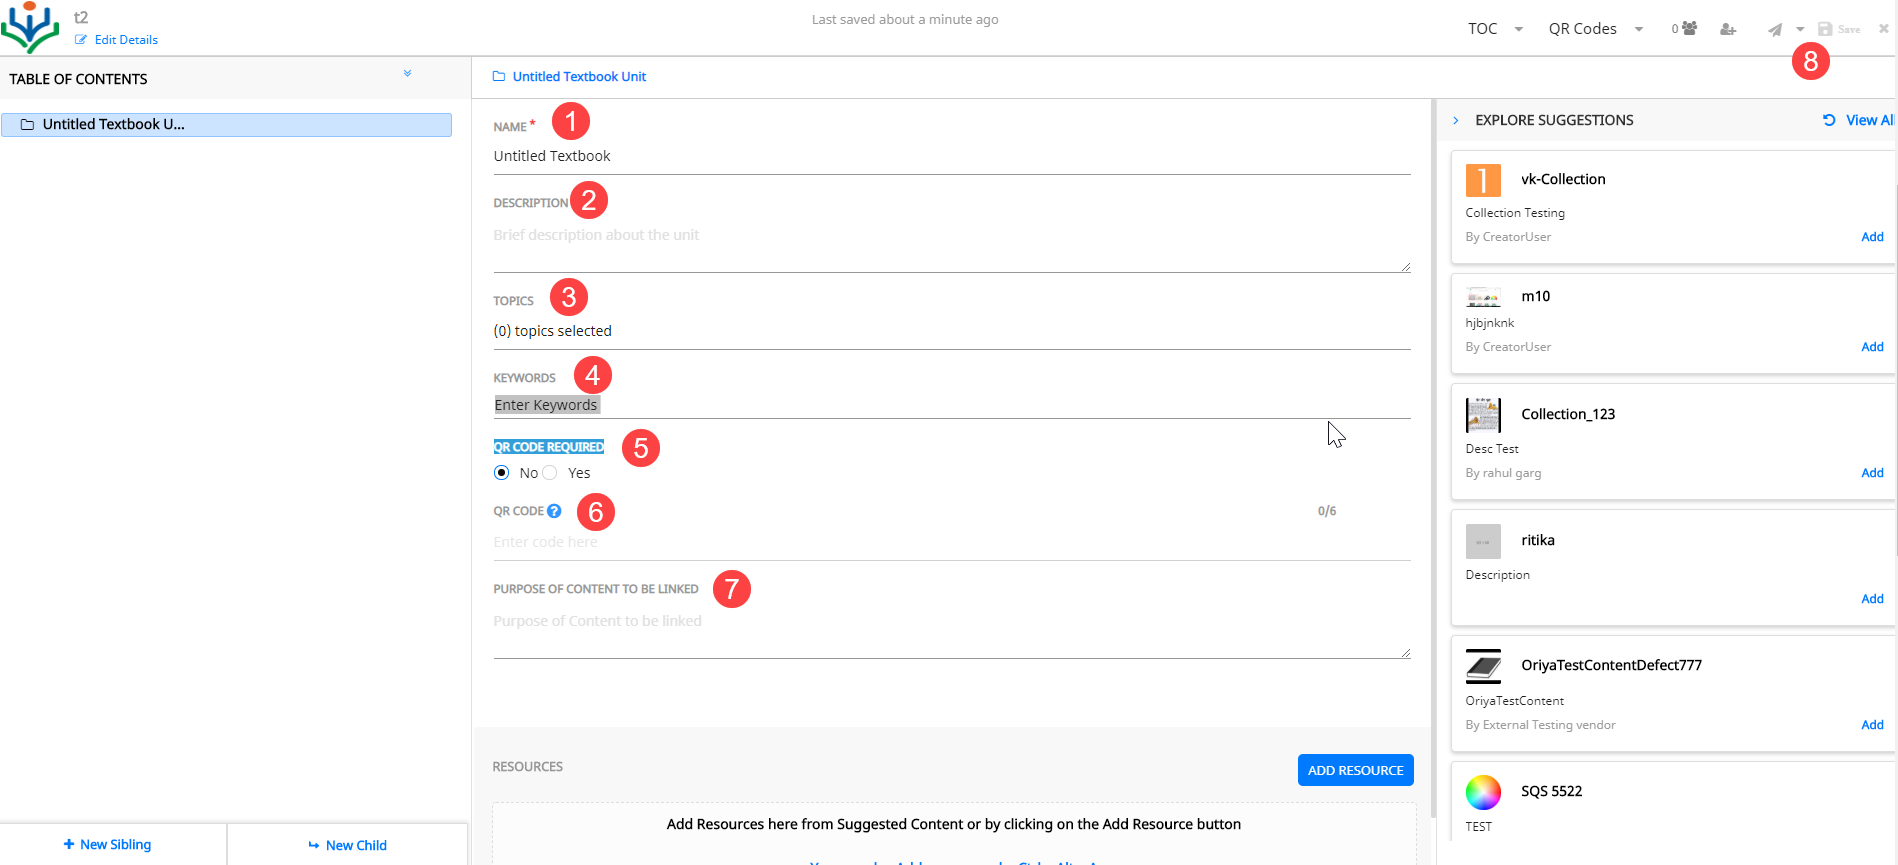
|